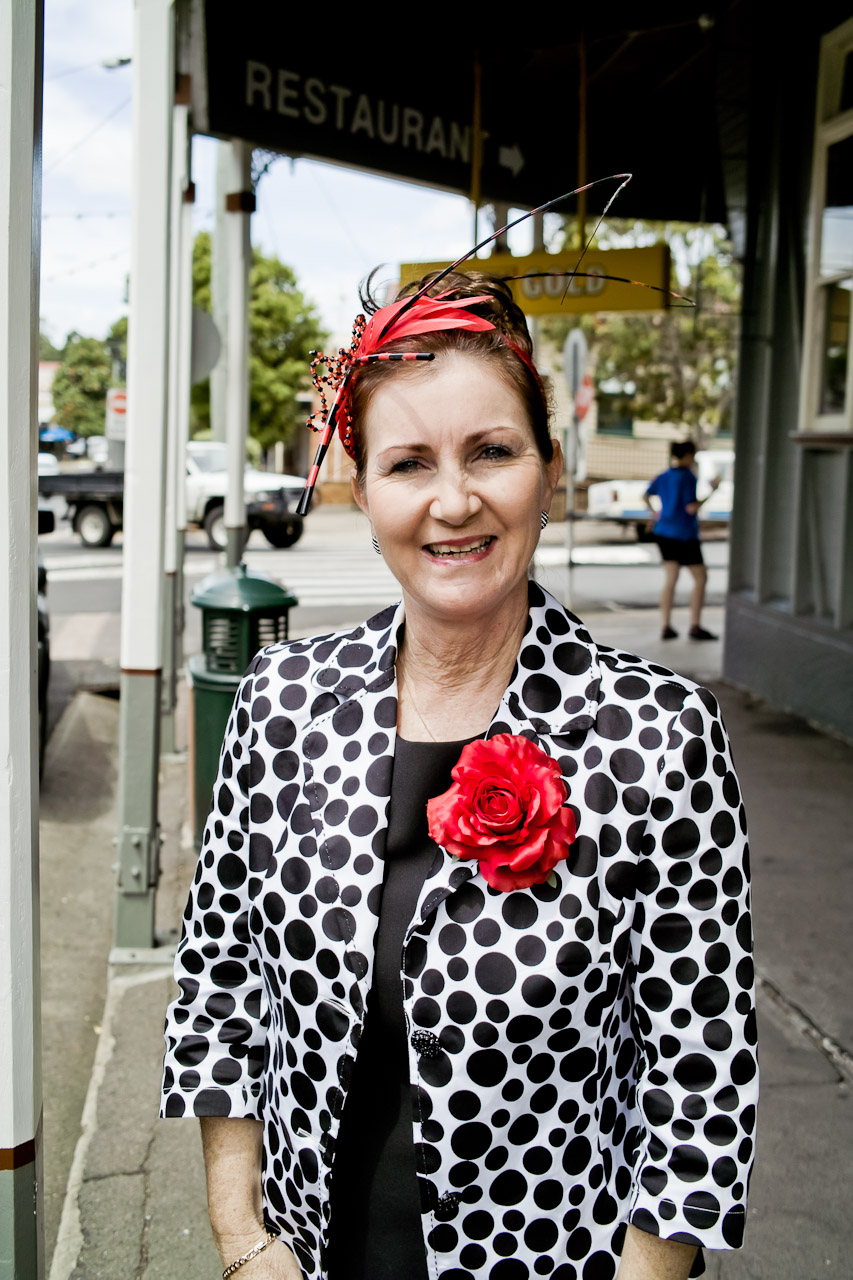
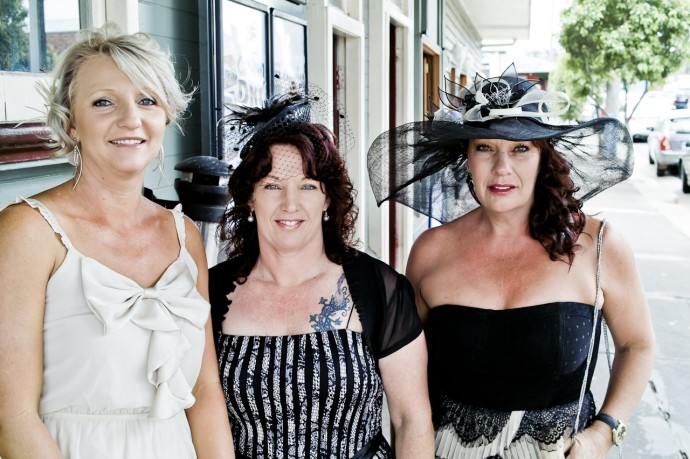
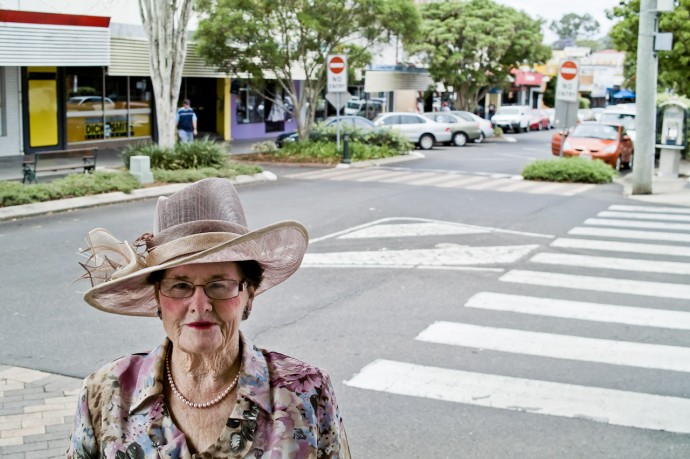
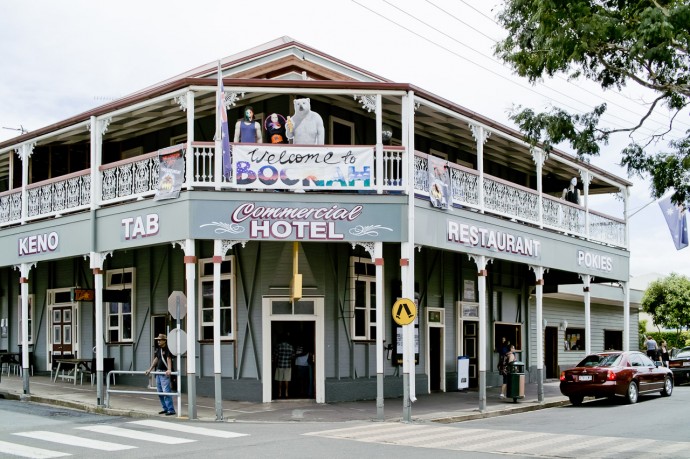
(All pictures taken in Boonah on the day of the Melbourne Cup.)
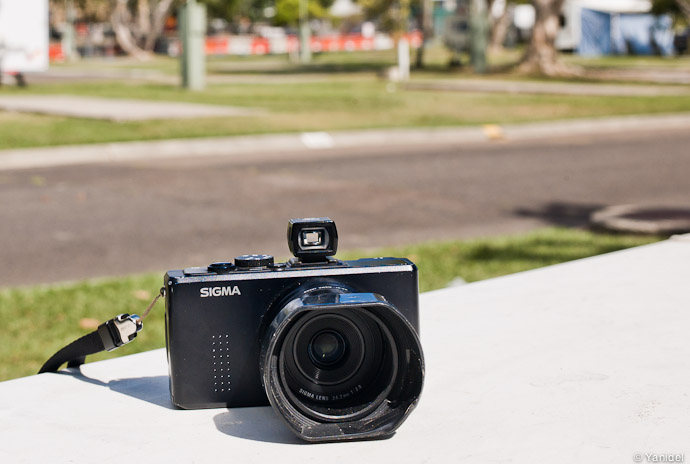
I often get questions on the Sigma DP2, be it in terms of my thoughts on it or more specifically regarding how to operate it. The Sigma DP2 is capable of wonderful imagery, yet it definitely got its quirks and some learning curve to master it. Here are therefore some tips and observations on how I shoot with the DP2.
Focusing
The DP2 has autofocus, yet it is quite a slow one. I therefore use it exclusively in static street scenes, landscapes or architecture. For street photography, you will have to go manual. The good news is that the DP2 has a wonderful manual focus dial with distance markings. I therefore zone focus and to do so, set the distance on 2 meters and adjust according to the situation. It gets a bit tricky when your subjects are very close since the distance markings are not very clear below 2 meters. In that case, I either switch to autofocus or stop down to increase the depth of field. Note that for those using autofocus, it is better to use the “landscape” focus mode for faster lock (especially if you shoot mostly at 2 meters and beyond)
Exposure mode
Though I am used to set exposure manually with my Leica M, I use aperture priority on the DP2 and adjust the F number with the Up/Down buttons. I find it is simply too slow to set both speed and aperture on the DP2. Good news is that the DP2 exposes very well, especially in evaluative mode which I recommend. In cases where some compensation is needed, I’ll quickly adjust in thirds of stop through the left/right buttons of the pad.
ISO’s
I always shoot ISO100 on a bright day and will go to ISO200 when the sky is overcast. Above ISO200, I prefer to use another camera since I don’t like the color shifts and desaturation that start to appear in the files. As I often said, the DP2 is a bright day camera. Unluckily for low light, one must either shoot in B&W or accept that files won’t look the same at high ISO’s. Note that in terms of noise, ISO400 is still very good and ISO800 more than acceptable. FInally, I never use ISO50 since it is not versatile enough for street photography and it often leads to burnt highlights.
Aperture
Image quality, and more specifically sharpness and contrast do vary depending on the aperture you select. F2.8 has lower contrast and a bit less resolution. I find it great for portraits since a bit less detail is often wanted (ladies will thank you). As for the lower contrast, it will render better the skins tonal range. F2.8 is also the way to go if you want some background separation at up to 2 meters. Beyond that, most of the plane will look in focus due to the DP2’s sensor size (and 40mm focal). The DP2 reaches maximum sharpness between F3.2 and F4.5 according to my experience. A smaller aperture (>F4.5) will generate diffraction and reduce sharpness. Not a big deal in many shots but since sharpness is one of the DP2’s main strength, I like to take advantage of it. F4.5 is therefore my standard F stop when shooting. It will indeed provide me with the best image quality and sufficient depth of field for most street scenes.
Power on, battery life
The Sigma DP2 is very slow to power on (about 3 seconds). That makes it useless for these shot opportunities that come and go very quickly. I therefore leave it all the time on which evidently means lower battery life. Autonomy is terrible on the DP2, count a battery for each 1 1/2 hours of shooting.
Hood
It is sold by Sigma as an optional accessory. It is rather big and I am not convinced it actually helps a lot reduce flare or improve contrast. Yet it protects the lens barrel and allows you not to worry about the front glass banging against your body or unwanted elements. I therefore have it mounted most of the time.
Framing
I use Sigma’s 40mm external viewfinder since it kind of replicates the rangefinder’s experience on the DP2. Indeed, the 40mm frame lines are displayed with space around it, allowing for better anticipation and composition. There are nonetheless several issues with the external viewfinder. First the frame lines are often difficult to see, secondly the delimited field of view is significantly smaller than 40mm and third, there is no correction for parallax below 1 meter. Finally, let’s add that there is obviously no focus confirmation. All in all, the viewfinder could be better so I therefore would advise you to have a good look at Voigtlander’s 40mm viewfinder before you make your choice. Though bigger, I think it will enhance the shooting experience on the DP2.
LCD
I turn the screen off when I shoot since I mainly use the optical viewfinder and I want to preserve battery life. Also, the LCD is plain lousy, being both difficult to see in bright light and of small size. I do use it for portrait though and in those instances where I can’t use the viewfinder (low angle shots, … etc).
In conclusion, the camera is definitely not one of those that you’ll just pull out of the box and start shooting. It will take some time and dedication to master it. Yet I think it is worthwhile since the result in terms of imagery are often stunning. At low ISO, you get close to Leica quality due to the wonderful lens and Foveon sensor. Also, the manual focus dial, fixed lens and external viewfinder provide an experience that is close to Leica M’s in a very small body. All of that, obviously, at a much lower price.
Do not hesitate to use the comments section if you have any other questions regarding the DP2.
