For those unaware of the Street Photography Now Project, it is a one year venture where street photographers are given an instruction weekly and must shoot accordingly. This week’s instruction, proposed by photog Arif Asci, states the following : “Look for a window. Through a window, out of a window, or at reflections on a window.”
Therefore, after reading the instruction this morning (they are delivered to you by email every Friday), I headed to town and decided to visit a couple of bars. (I am starting to know a lot of people in there, not a good thing …). While looking through their windows, I took the time to reflect on this instruction and decided to write about it.
In some ways, it is a very easy instruction since the window will act like a protection. As a matter of fact, you won’t be seen and people probably won’t know that you are taking their picture. What a great way to take candids. Yet, shooting through a window also brings a new range of issues that one must take special care with :
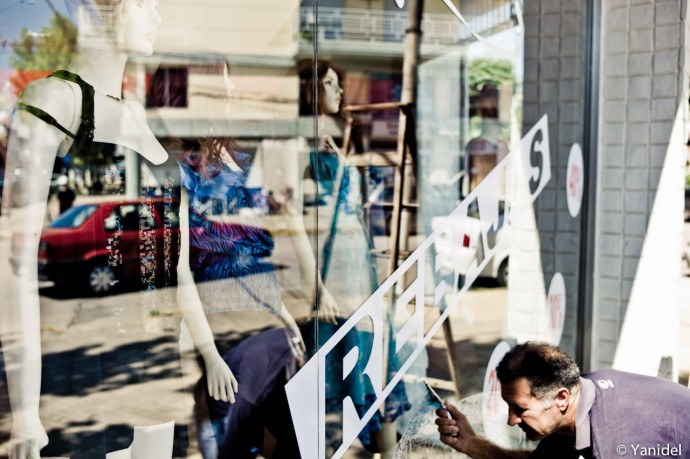
– watch out for your own reflection. Sounds obvious, but how many times did you take a picture and see your lovely face appear while reviewing the shot. To avoid it, the only way is to record in your brain the following equation “Window = reflection”. It must in fact become an automatism to look for your own reflection whenever in front of a window. If you do see yourself in the shot, position yourself with an angle to the window, like I did in the shot below. (click on pictures to enlarge)
Leica M9 with 35mm Summilux Asph at F2.8, 1/350, ISO160, ND filter
– another point similar to the the one above is the reflections on the window. You must actually compose twice; the scene behind the window and what is reflected on it. The multi-tasking capability of your brain will definitely be challenged here. (if you take another look at the shot above, you’ll probably notice that a car made it somehow in the shot …)
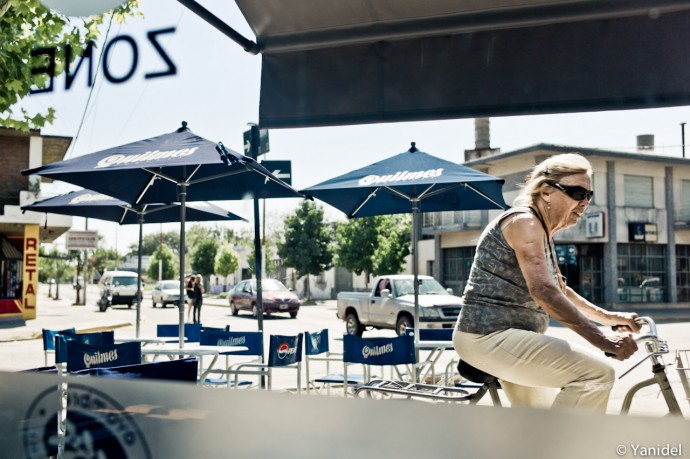
– for those shooting with rangefinder cameras, the parallax might cause problem. Indeed when you shoot through a window, including elements of the glass surface might result interesting to give a feel of your location to the viewer. Of course, it means that these elements will be close to you, so think about compensating for parallax. In the shot below, I wanted to include the “zone” tag in the shot, I had to reframe significantly to include all what I saw in the viewfinder in the final shot.
Leica M9 with 35mm Summilux at F2.8, 1/500, ISO160, ND filter
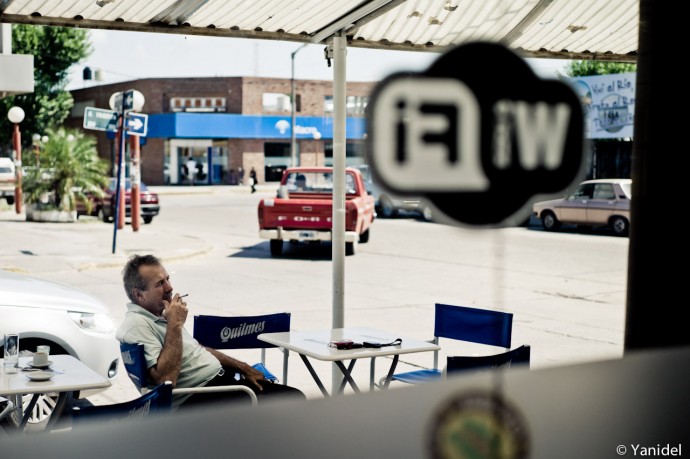
– most windows are dirty. Small aperture = all the dirt will show up in the picture. It might not be such an issue on web postings, but if your print big, it might be bothering. The way to avoid it is to shoot with a large aperture which will cause a new problem. Indeed, it will diminish your depth of field, blurring both the window elements and the background of your scene. In the shot below, I elected a F2.0 aperture, it took care of the dirt, yet the WIFI sign was not very well defined. Not a big deal in this case.
 Leica M9 with 50mm Summicron at F2, 1/4000, ISO160
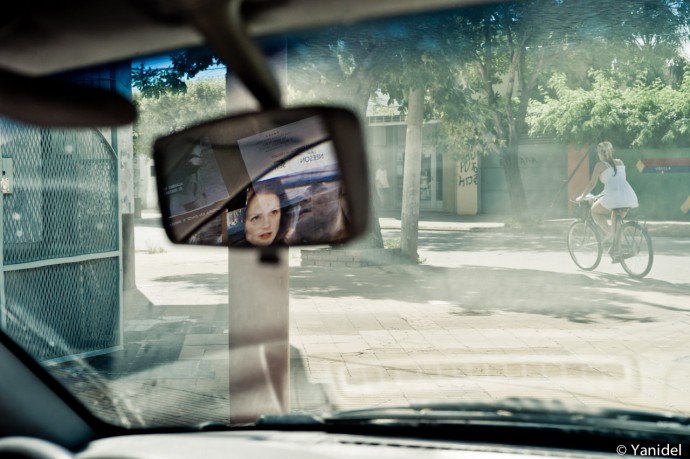
– when sitting inside a place, your field of view and ability to move will be very limited, meaning that you won’t be able to track your subject with the camera. So concentrate on what is going on in your frame and simply let people come and go until something interesting happens. Patience is your best friend here. In the shot below, I was stuck in a car for a few minutes (the joys of shopping…). I noticed the reflection of the poster in the rearview mirror and therefore waited for another element to close the composition. A woman on a bike rode by, I had my surrealist jealousy tale …

Leica M9 with 50mm Summicron at F8.0, 1/350, ISO1200
There is still a full week ahead to comply with this instruction and it is never too late to jump on this project’s train, so try it if you are interested. As for myself, I’ll hit the street a few more times to experiment with this instruction. Practice and curiosity are probably some of the better ways to improve in street photography.

