You migh ask yourself why use manual focus nowadays as autofocus system have become so fast and reliable ?
First and above all, manual focus means that you are in full control. You can’t blame the camera for an out of focus shot, it is only about your skills and interpretation of a scene. I often feel a sense of accomplishment when I nail perfect focus on a complex scene. It does also bring a lot of frustration as focusing accurately and consistently a rangefinder is not easy. There, only practice and experience will help. Another advantage of manual focusing is the ability to use the zone focus technique easily. Indeed, with the detailed distance scale and aperture ring located on the lens, you can prepare your shot without actually looking at a screen or bringing the camera to your eye. That turns out to be extremely useful in these situations where stealth is needed to get a candid shot.
As said above, some skills are needed to focus a rangefinder quickly and consistently, especially wide open as the sharpness plane will be very thin. This series will therefore will cover the main focusing techniques I use while in the street with my lens wide open. Let’s start today by the most common one :
Focus through the viewfinder
Skill : basic
In focus rate : 99%
Shot style : static subjects, landscapes, portraits
The standard way of focusing a rangefinder. Bring the camera to your eyes, have the rangefinder patch coincide with the whole picture and hit the trigger. This way of focusing is perfect for static objects or landscapes. You have plenty time and you can fine tune your focus. Therefore it should result in a perfect focus in all instances. Nonetheless, do not forget that a slight re-framing after setting the focus will often result in the focus point moving slightly (indeed as the lens moves, so does the focus distance), so you’ll need to compensate with a slight move of your body.
I spotted this lady in front of Notre Dame in Paris as she was taking a selfie with her tablet. I knew it was a fleeing moment yet precise focus was needed. I took my time and focused on the tablet. Luckily she took her time to get the prefect framing and I was able to get the shot.
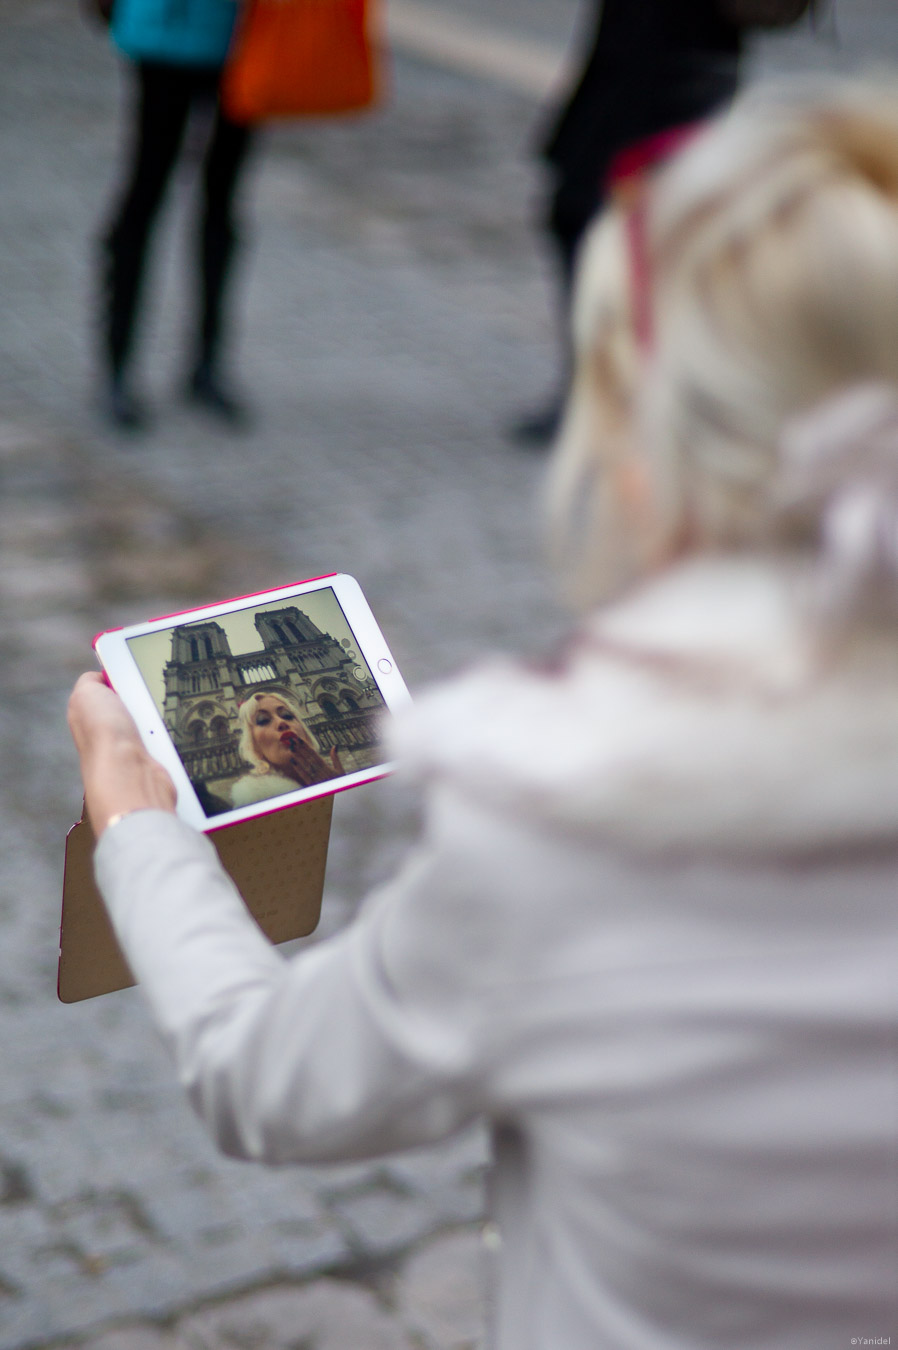
Leica M9 with 35mm Summicron IV at F2, 1/350, ISO160
Zone focus
Skill : normal
In focus rate : 90%
Picture style : candids
Zone focus is a very effective way to shoot with a rangefinder. Indeed, you manually chose the plane that want in focus by setting the distance and aperture on your lens. For example, set your 35mm lens (on full format camera) on 3 meters and an aperture of 5.6 and you'll know by looking at the distance scale that the plane between 2 meters and 5 meters will be in focus (often referred to as the depth of field). So where does it lead us to ? To the point that you can set the focus by estimating the distance to your subject before actually bringing the camera to your eyes. No more need to focus in the viewfinder and a very valuable gain of time to take your shot, especially useful if you are after candids. Actually, you could spend a whole day without any need to focus your camera by setting the focus ring on 3 meters and the aperture on F11. Then everything between 1.8 and 7 meters would be in focus and would cover about any situations you will encounter in street photography. Easy isn't it ? Apart from the loss of speed that would happen at F11, it also gets more complex when you like to shoot wide open as I do (with large apertures such a F1.4). Inded, the focus plane becomes very thin. For example, take the same 35mm lens at 3 meters with an aperture of F1.4 and your plane of focus now only ranges from 2.7 to 3.3 meters. This will create great blur effects in the background nevertheless your focus zone will be of only 60 centimeters and a wrong estimation of distance will fatally lead to a misfocused picture. Therefore if you are going to use zone focus with wide open lenses, you better learn to estimate distances very accurately.
As I saw this rickshaw coming to me, I quickly set the focus to 2meter and and aperture to F8.0. Therefore I ensured that most of the picture would be in focus as it passed by me. Note that the driver is slightly out of focus as he was extremely close to me as I clicked.
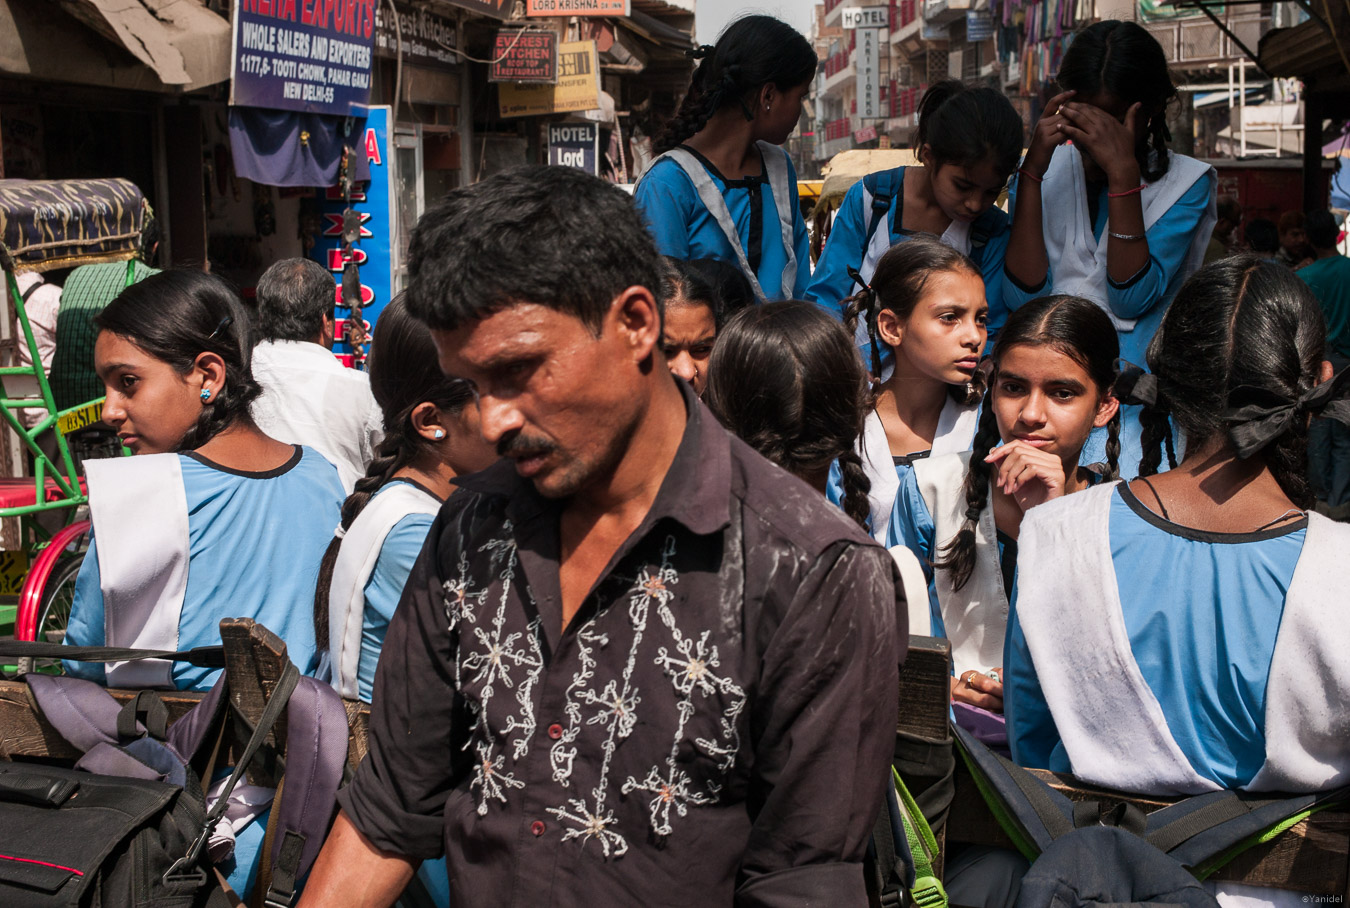
Dehli – Leica M8 with 35mm Summilux at F5.6, 1/500, ISO160
Focus by anticipation
Skill : advanced
In focus rate : 80%
Shot style : Moving subjects, preset compositions
This focus technique is a variation of zone focus, yet in this case you will first position yourself, set the focus then wait for your subject to enter your frame. This method is most useful when facing fast moving subjects (bikes, cars, joggers… ) or whenever you have identified a specific background and wait for a subject to enter it.
In Delhi, I observed a few kids playing cricket in a park. It is extremely to difficult on a moving subject so I pre-set for focus on the stone and waited for the next kid to com at bat. I could then concentrate on the batting movement as focus was already taken care of.
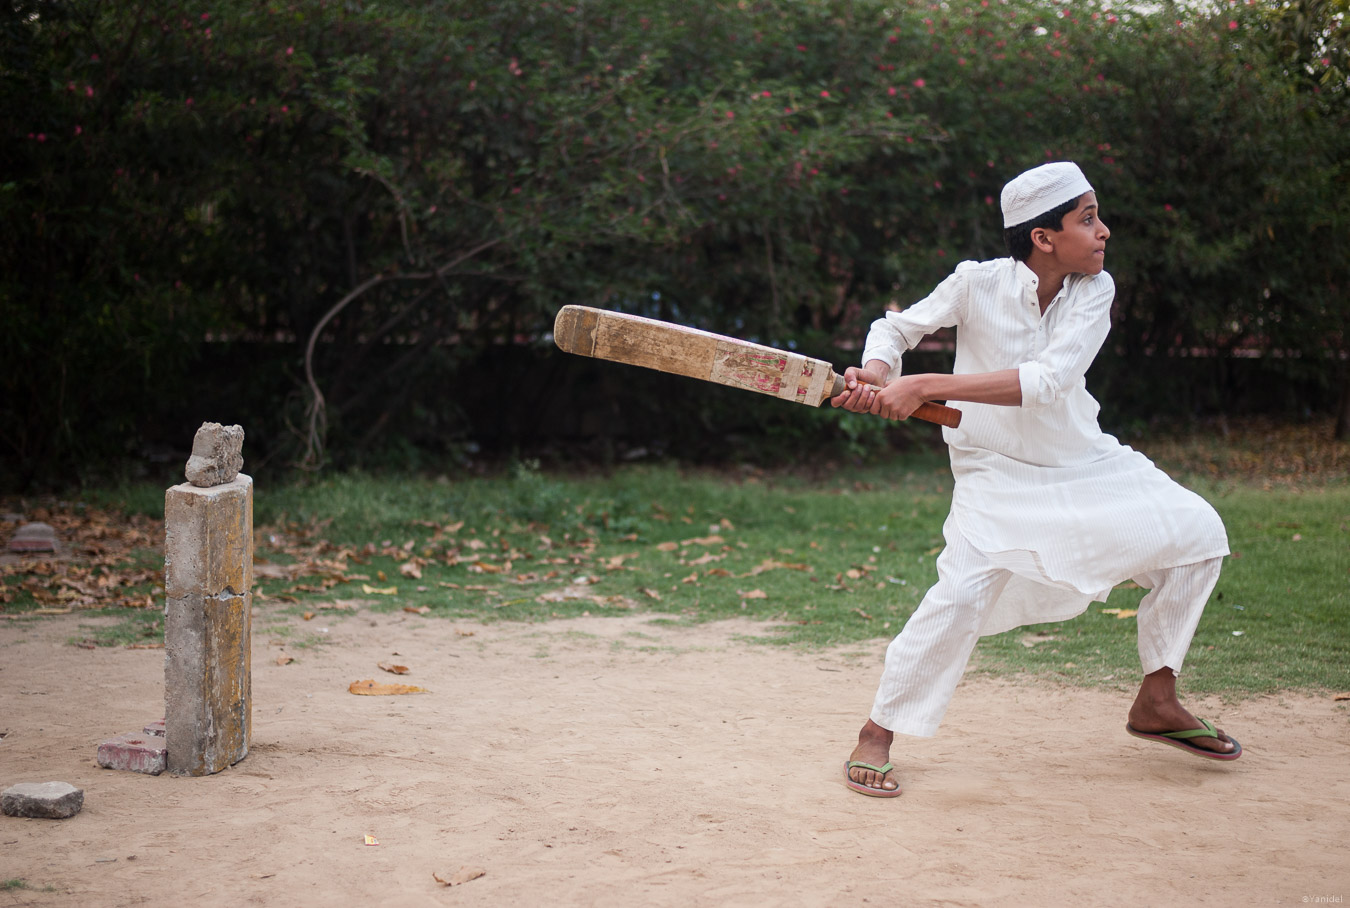
Dehli – Leica M8 with 35mm Summilux asph at F1.4, 1/750, ISO160
Collision path focus
Skill : advanced
In focus rate : 50%
Picture style : subjects walking towards you
As you walk in a street, many of your potential subjects will be headed in your direction and pass by very close. That is especially true in towns with narrow sidewalks or tiny streets like one often encounters in Europe. With that method, you will set the focus on your lens at a given distance depending on how close you anticipate/want to get to your subject. Almost on a collision path, reason for the new found name for this technique. In my case, I usually set my 35mm lens at 2 meters and the 60mm at 3 meters. When I spot a potential subject coming towards me, I then raise the camera to my eyes in advance and aim the rangefinder center patch toward the face of the person. Then I let the subject near (on a collision path … reason for the name of this technique) until the two images are about to coincide in the viewfinder. At that moment, I'll quickly reframe to the wanted composition and hit the trigger. Now make no mistake, and remember that this series is about focusing lenses at full aperture, this technique is not a very reliable one and one does need to practice a lot to get a good timing. Nevertheless, I find it a bit more effective then trying to estimate the distance to your subjects while both of you are moving. As a side note, one could argue that this technique will get you spotted easily by subjects. It is true in some cases, yet most people don't really understand what is about to happen as you raise your camera. Therefore if your timing is good, you'll still get a high rate of candids.
In the picture below, that old man came walking towards me. I proceeded under the tree and preset the focus point to 2 meters and waited for the rangefinder patch to coincide as he came close to me.
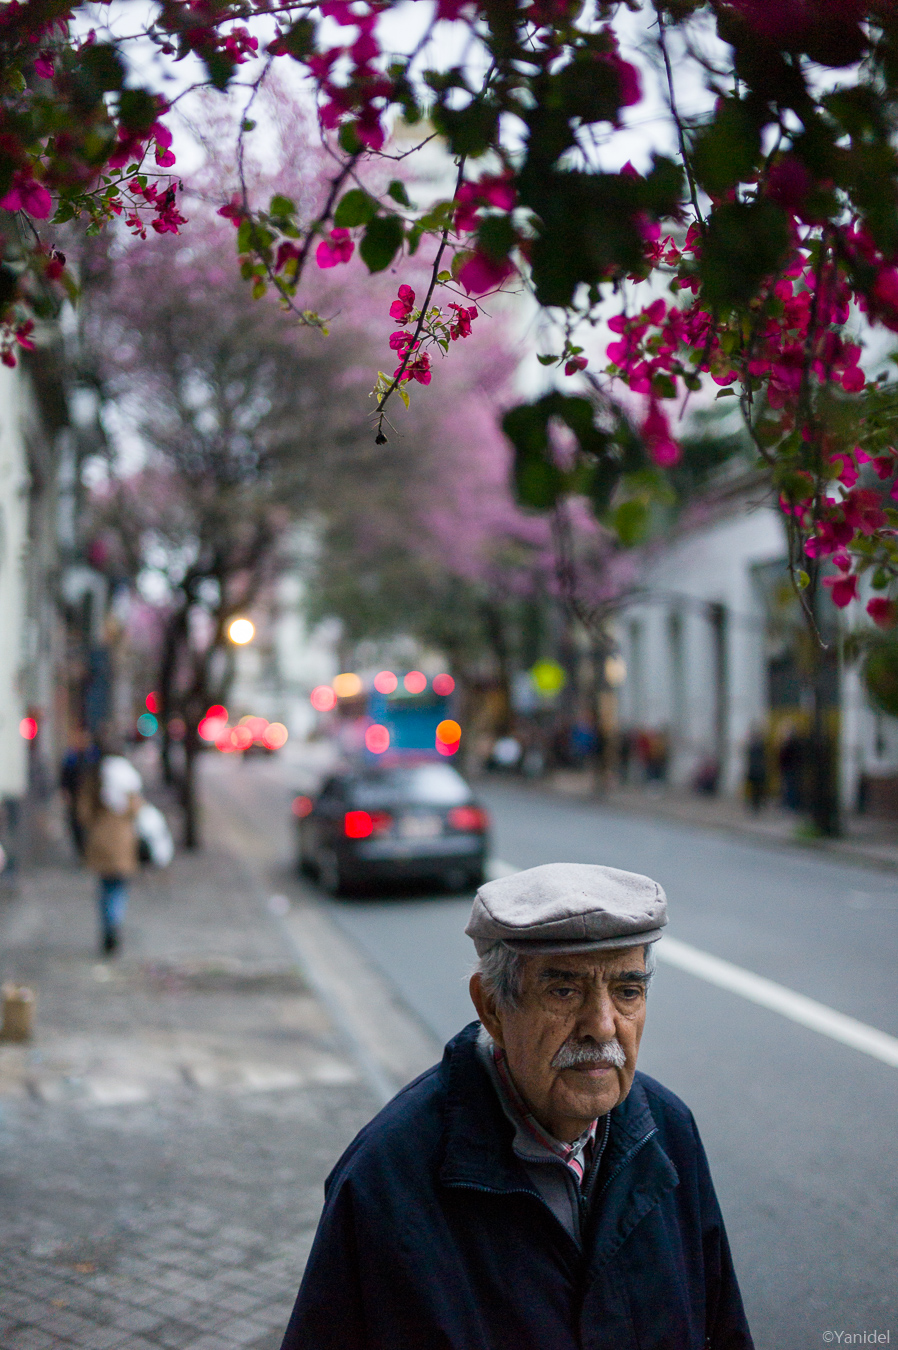
Rosario – Leica M9 with 35mm Summilux Asph at F1.4, 1/500, ISO640
Leica M9 with 60mm Hexanon at F1.2, 1/4000, ISO640
Hailmary focus
Skill : for gamblers only
Hit rate : 20%
Picture style : Out of focus mainly …
I always liked the term Hail Mary pass commonly used in American Football. It refers to a long forward pass as an attempt to win the game as time expires. Success rate is less than 5%, but at least the losing team gives it a try. Same happens in street photography when a great potential scene suddenly unfolds quickly in front of you. Unluckily, your focus ring will often be in the wrong position. Therefore, in a desperate attempt to get the shot, rotate the focus ring blindly and … pray for the best. With time and practice, you'll get a feel of which direction to turn the focus ring to and get some success now and then. To help in that matter, I do recommend lenses with a lever since it will give you a feel of where you focus is and where you are repositioning it to.
The picture below was taken on a rainy night in Rosario. I was looking at the direction opposite to where this man came from. When I finally noticed him, he was only 2 meters away from him so I had no time to preset the focus. I went for the hailmary focus and moved the focus lever towards the closest focus distance. It obviously didn't work that well in that instance. Nevertheless, the lack of perfect focus is not too distracting in this picture as the resulting blur adds to the atmosphere of that dark rainy night.
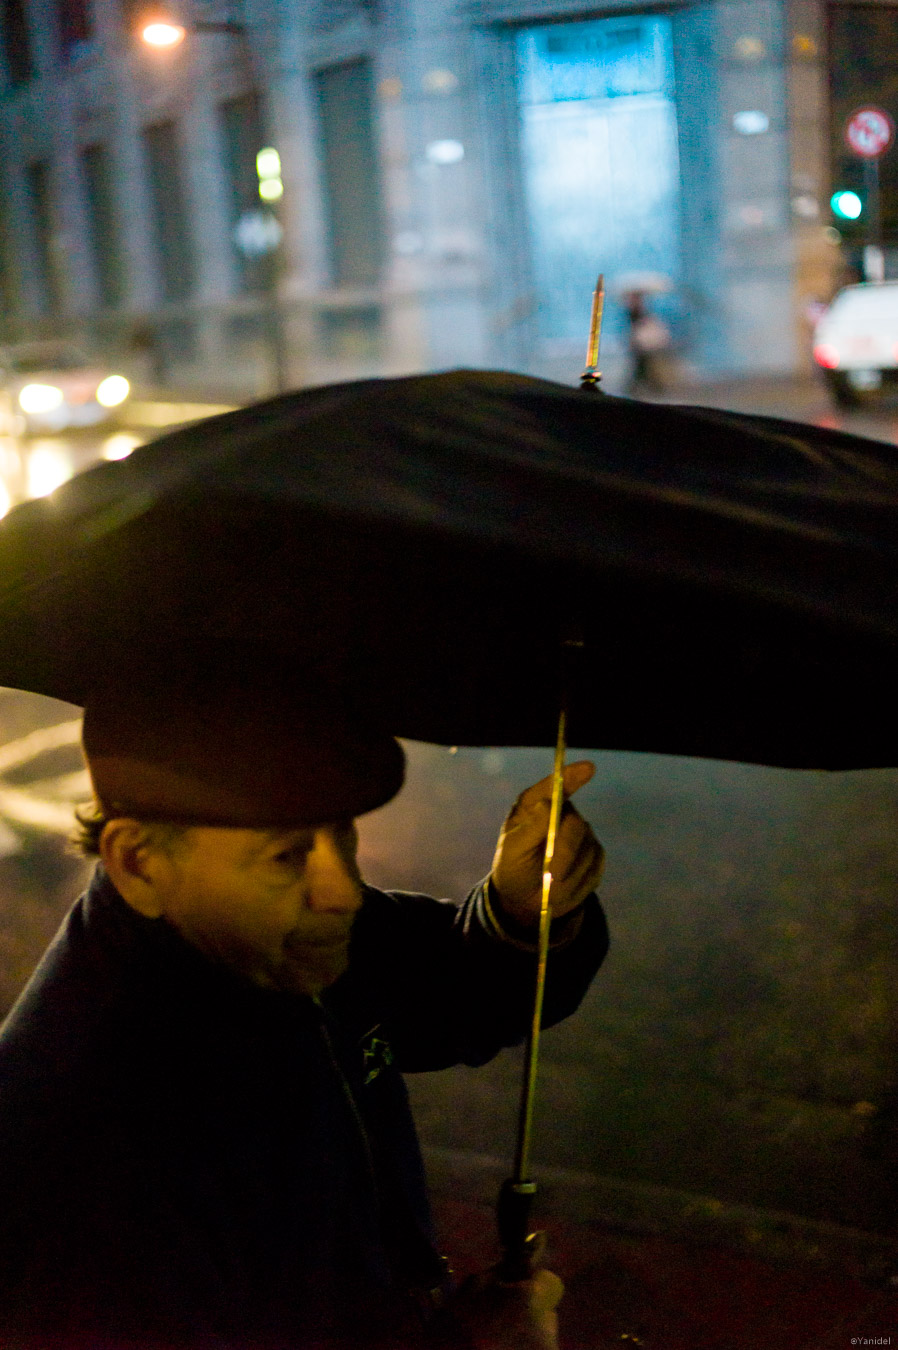
Rosario Leica M9 with 35mm Summilux at F1.4, 1/1000, ISO160.
Comments are closed.